
Garage floor epoxy in Charleston — done in one day.
Polyaspartic-grade systems installed under the Coat Pro prep standard. Diamond-grind every floor, walk on it the next morning, lifetime workmanship warranty on every install.
Free 24-hour quote.
Tell us about your garage. We walk it before we quote — one fixed number, no surprises.

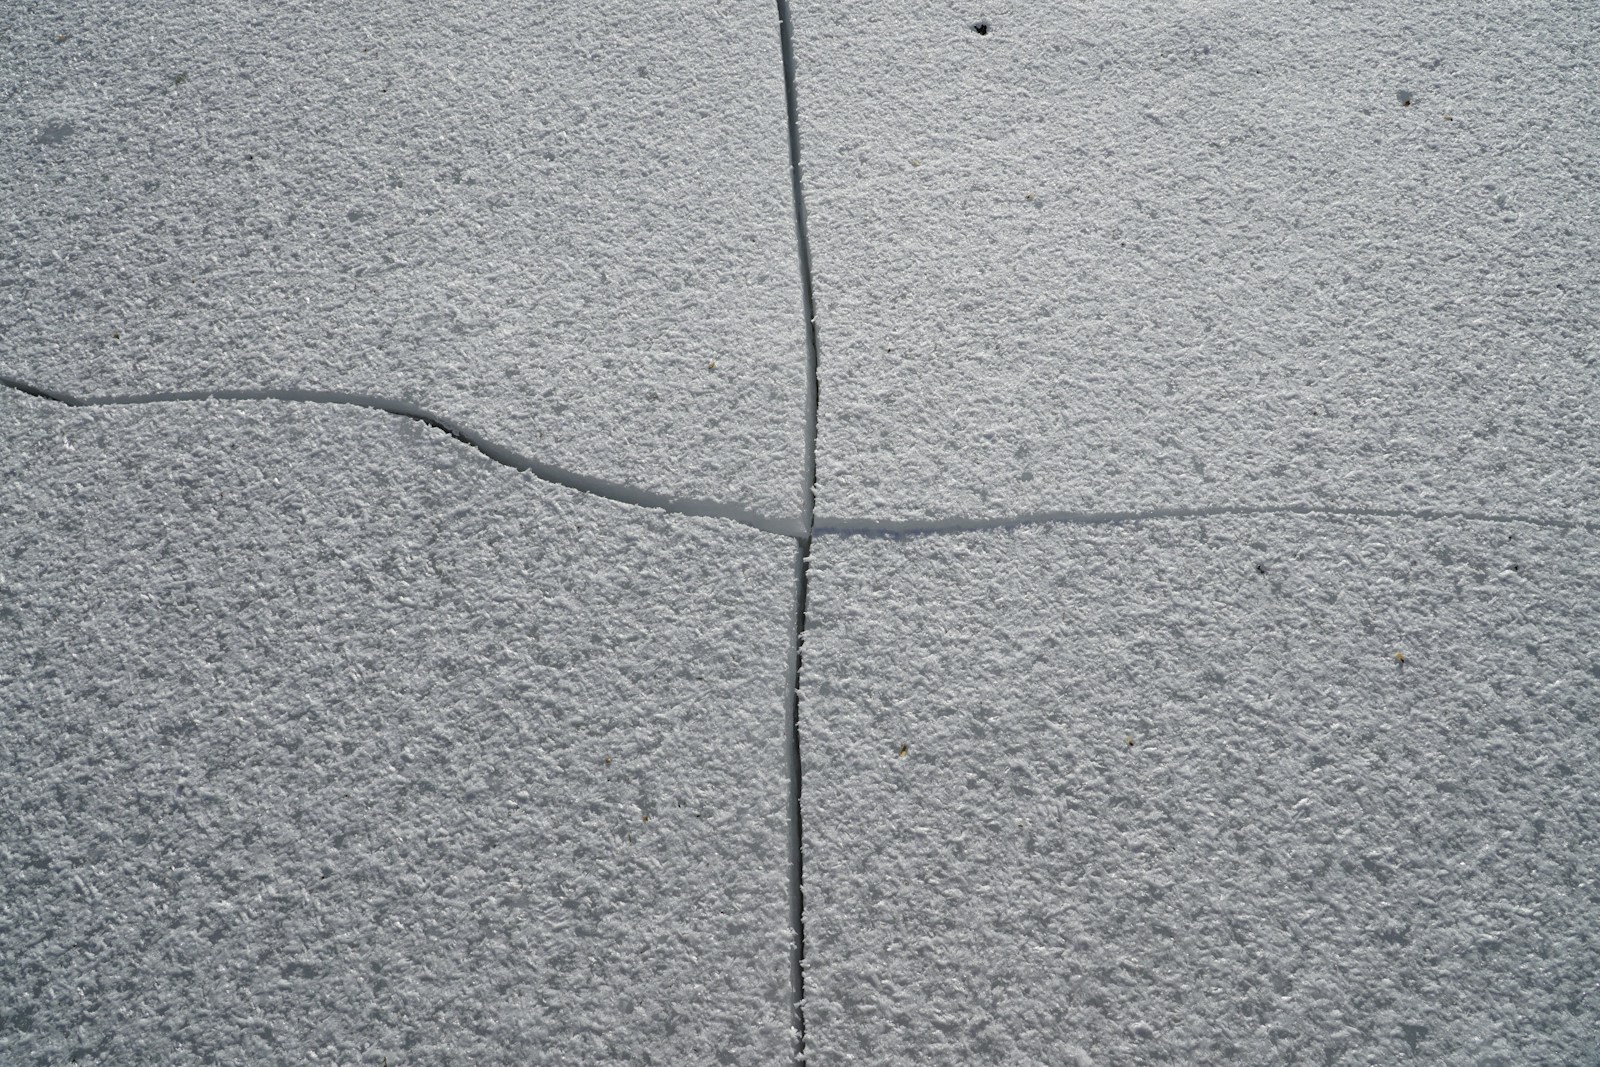
Concrete wasn’t built for what you use it for.
In Charleston, your garage slab takes on hot, humid coastal air, salt exposure, and high moisture. Bare concrete was poured to hold up your house — not to live with years of oil drips, hot tires, and everything the Lowcountry throws at it. Left raw, a Charleston garage floor only gets worse: it stains, dusts, and cracks until you stop wanting to open the door.
Most Charleston garages we’re called out to are dealing with one or more of these problems:
- Oil and brake fluid stains that won’t power-wash out
- Hairline cracks from slab movement and seasonal swing
- Peeling DIY epoxy from a Home Depot kit that didn’t hold up
- Hot-tire pickup (your old coating literally lifting off when you park)
- Dust — that constant fine gray dust that gets into every box on the shelf
- An aesthetic that just makes you not want to open the garage door
The fix is straightforward — but only if it’s done right. Cheap big-box kits skip prep entirely (acid etch isn’t prep, it’s a chemical wash). Pro polyaspartic coatings done over diamond-ground concrete bond mechanically to the slab and last 20+ years. The chemistry and the prep are non-negotiable.
Why Charleston garages punish the wrong coating.
Lowcountry humidity and salt air are relentless — moisture pushes up through untreated slabs and coastal salt attacks weak coatings and bare concrete alike.
Charleston-area garages range from historic-district homes to newer suburban and raised coastal builds, all fighting the same humidity. A moisture-tolerant, diamond-ground polyaspartic floor seals out Lowcountry humidity and resists salt air, staying clean and bonded where paint-style kits fail fast.
The Charleston build difference comes down to prep and the right resin. We diamond-grind to a profile that bonds, repair what the Lowcountry’s conditions have already done to the slab, then lay a polyaspartic-grade system rated for hot, humid coastal air, salt exposure, and high moisture. That’s how a Charleston garage floor still looks new years later instead of peeling, hazing, or lifting like a weekend kit.
We coat garages across Charleston and the Lowcountry — Mount Pleasant, North Charleston, Hanahan, Summerville, Folly Beach, Awendaw, Goose Creek, and James Island — and in neighborhoods like Old Village, I’On, Park West, Hamlin Plantation, Belle Hall, and Dunes West. Every Charleston slab is diamond-ground and spec’d for hot, humid coastal air, salt exposure, and high moisture, not a generic recipe copied from another region.
Will coastal humidity and salt air ruin the coating?
Not with proper prep. We moisture-test and diamond-grind every Charleston slab, then install salt- and moisture-tolerant polyaspartic systems built for Lowcountry conditions.
My slab feels damp — can it still be coated?
Yes — we manage slab moisture during prep, which is essential in the humid Lowcountry, so the polyaspartic finish bonds properly and won’t blister.
The polyaspartic spec — explained.
No mystery chemistry. Here’s exactly what goes on your garage floor, in plain English.
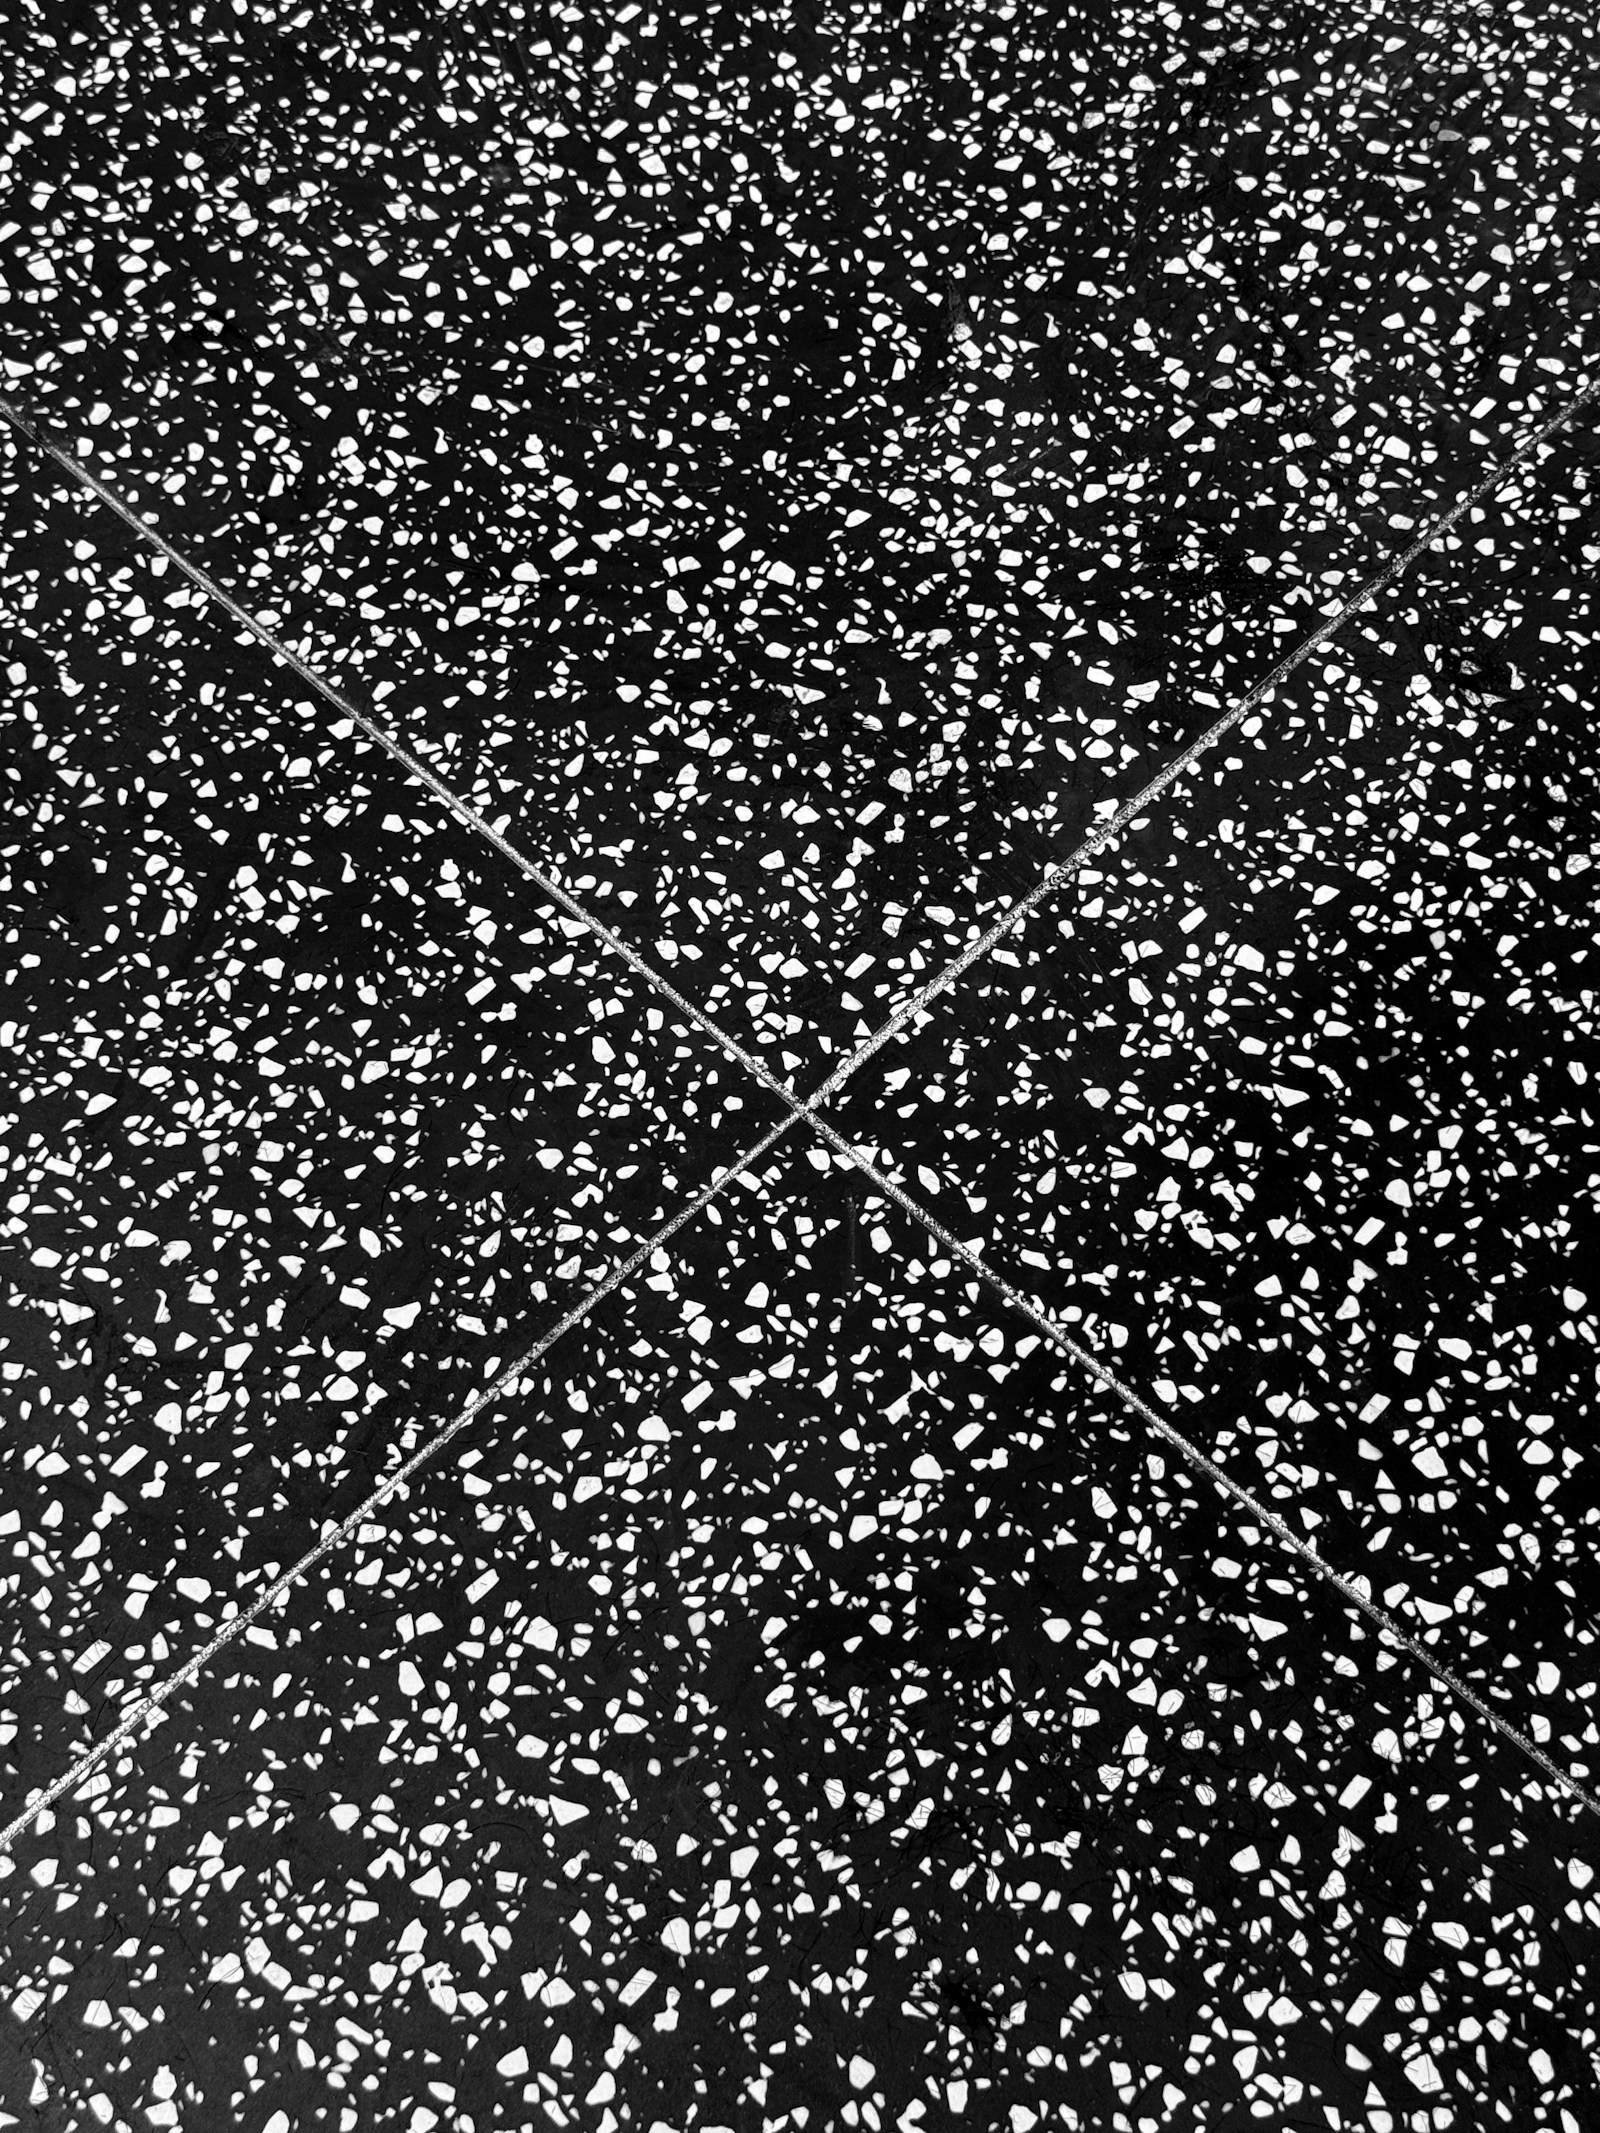
The system, layer by layer
Substrate
Primer
Base coat
Broadcast
Topcoat
Why polyaspartic, not epoxy? Polyaspartic is the next-generation coating chemistry. It’s more flexible (handles slab movement without cracking), UV-stable (won’t yellow in Charleston sun), faster-curing (one workday instead of three), and more chemical-resistant (handles brake fluid, oil, solvents, deicer). Epoxy is older. Polyaspartic is just better technology.
Why diamond-grind, not acid etch? Acid etching softens the surface of the concrete with hydrochloric acid. It looks like prep, but it doesn’t open the slab for mechanical bonding. Diamond grinding uses metal abrasive heads on industrial planetary grinders to remove the top 1–2mm of concrete — exposing fresh substrate that the coating chemically and mechanically bonds to. It’s the single biggest factor between a 3-year DIY failure and a 20-year pro install.
Why 5 layers, not 2? Two-coat systems are what comes in the box at Home Depot. Real installs need primer to lock the substrate, pigmented base for color, decorative broadcast for texture and visual depth, and a clear topcoat for wear protection. Skip any of those and the floor either fails or looks cheap. We don’t skip layers.
Four steps. No surprises. Every floor.
The same playbook on every Charleston garage — the one every installer is trained on.
Walkthrough
We meet you at the garage. Measure the slab. Check for cracks, oil contamination, prior coatings. Talk about color and finish.
Fixed quote
One number, in writing, within 24 hours. Includes prep, repair, install, materials, warranty. The quoted price is the invoiced price.
Diamond-grind prep
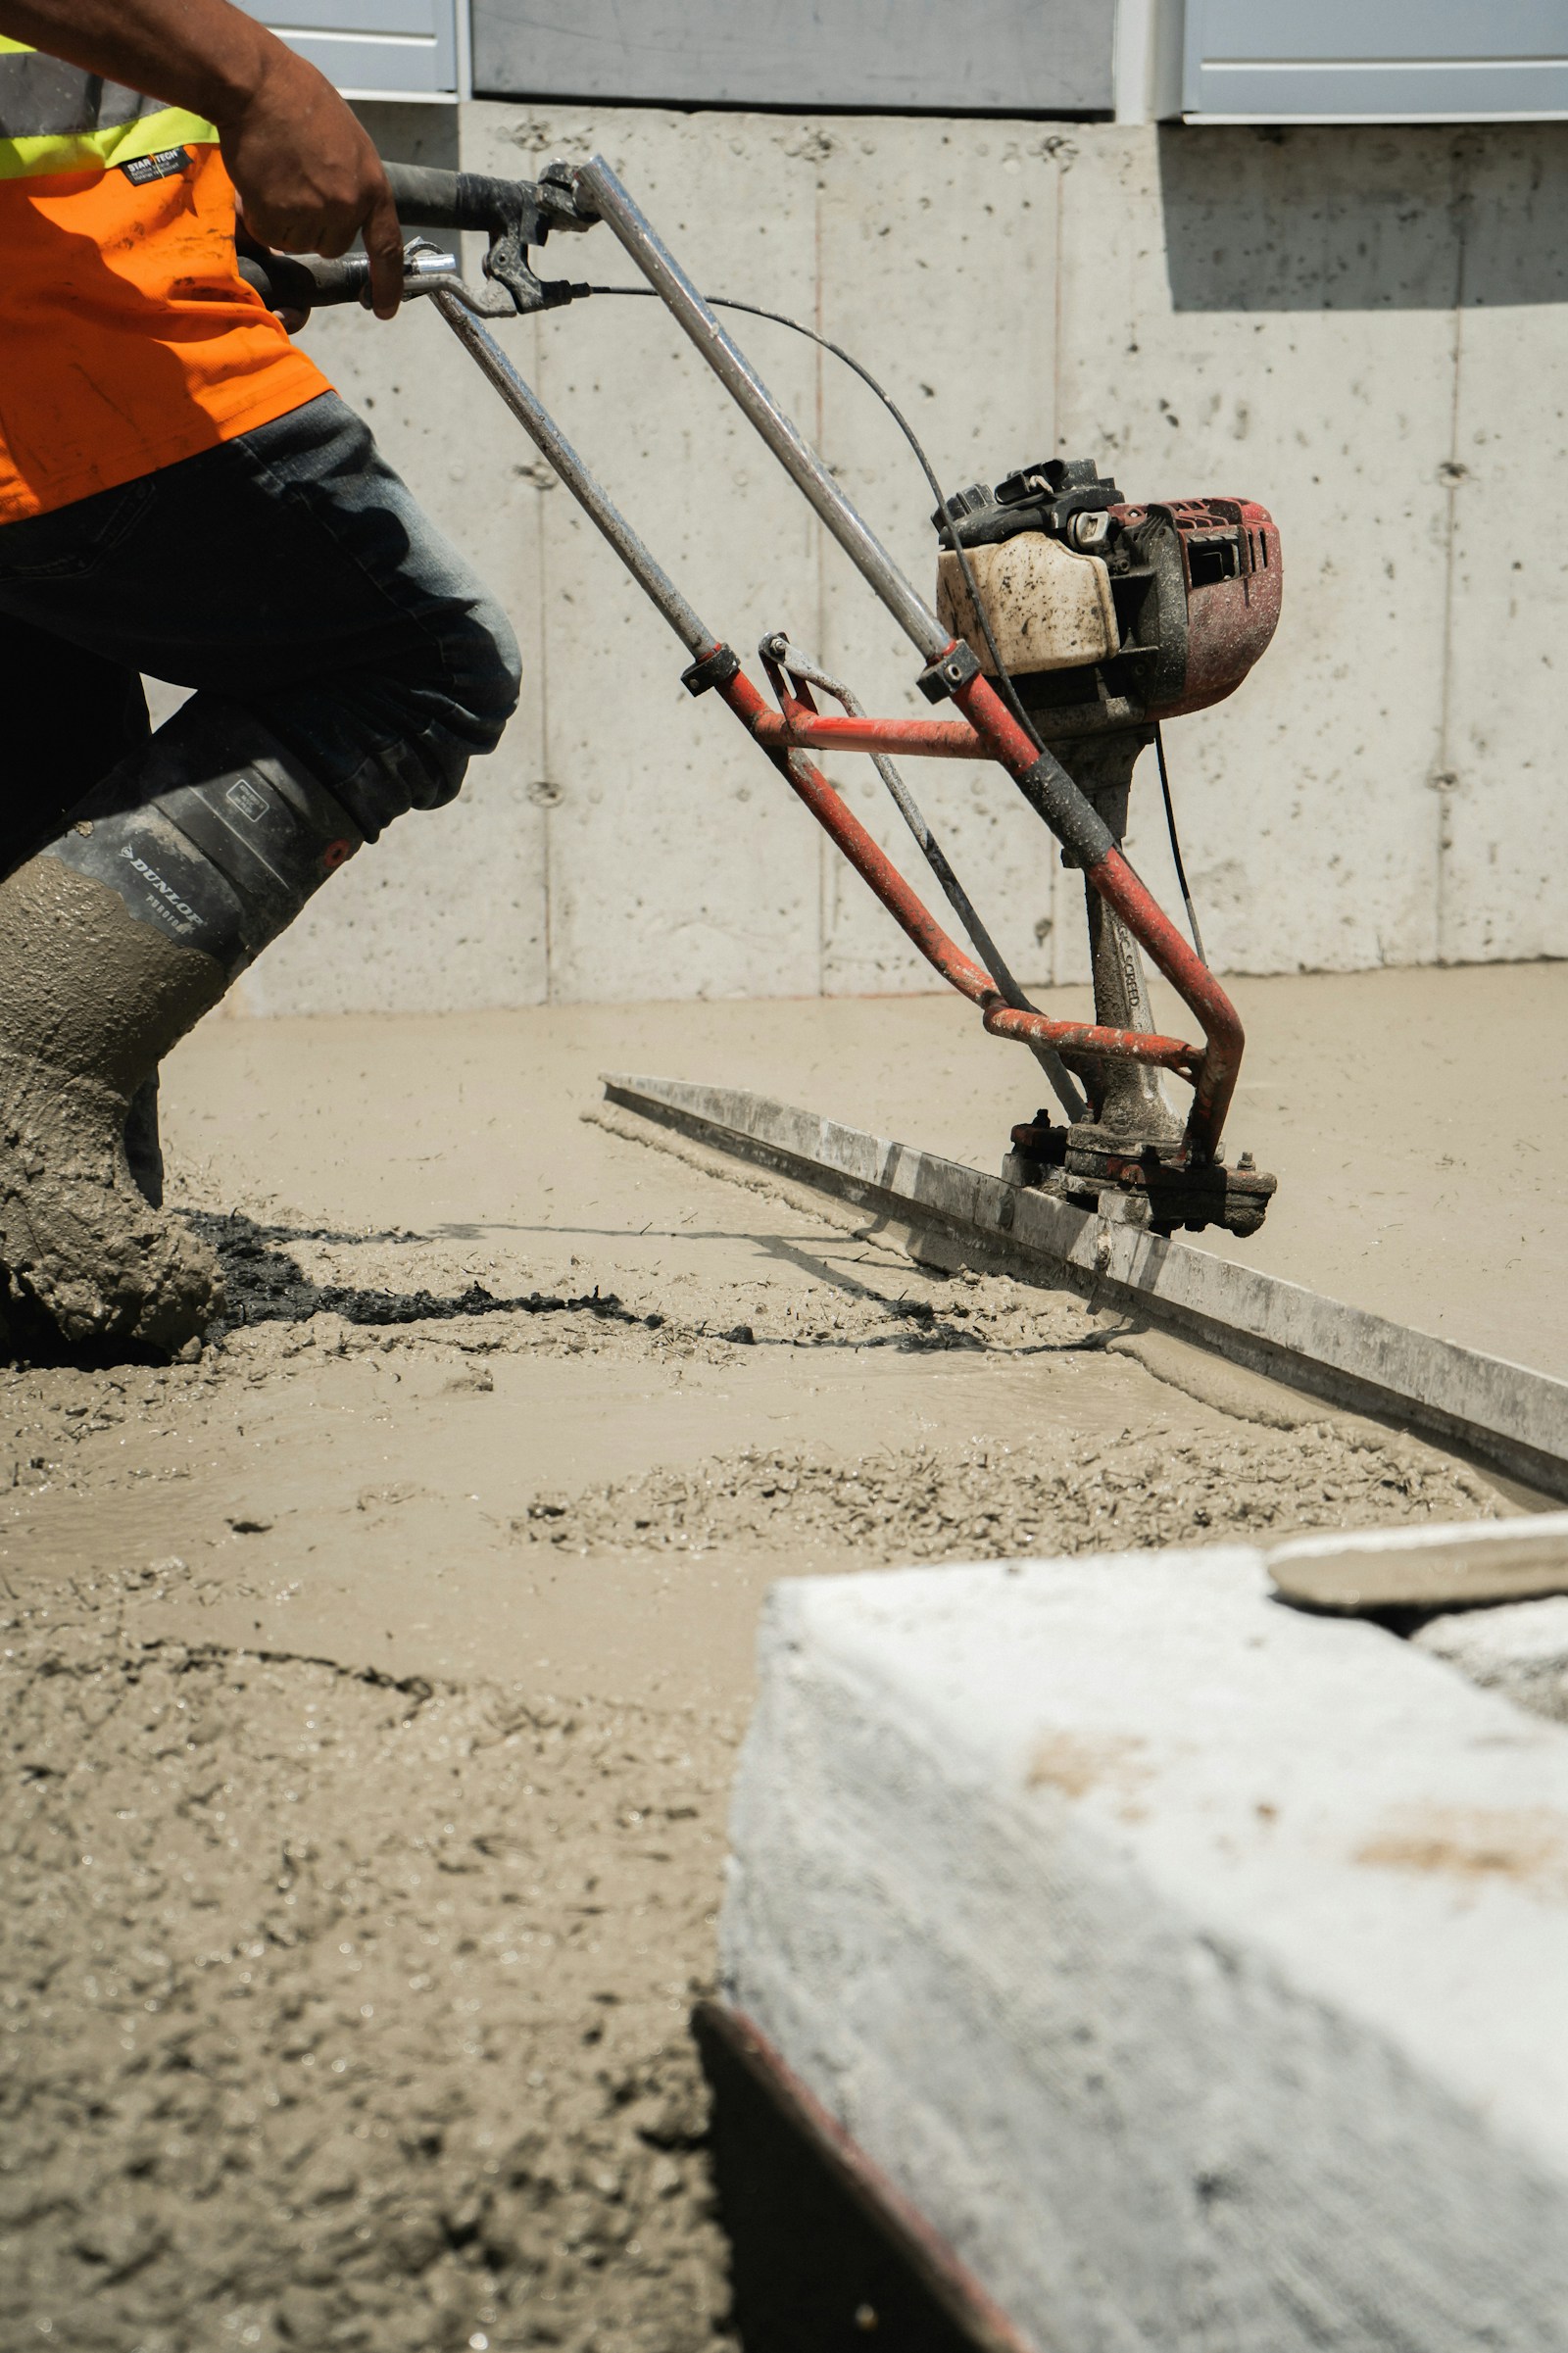
Crew arrives early. Slab is ground to bare concrete, cracks repaired, dust HEPA-vac’d, primer applied. Half the install day is just prep.
1-day install
Base coat, flake broadcast, topcoat — all in one workday. You walk on it the next morning. You park on it 48 hours later.
Color, flake, and finish.
Four signature blends most Charleston garage owners pick. Plus dozens of custom options if you want something specific — we bring physical samples to the walkthrough.
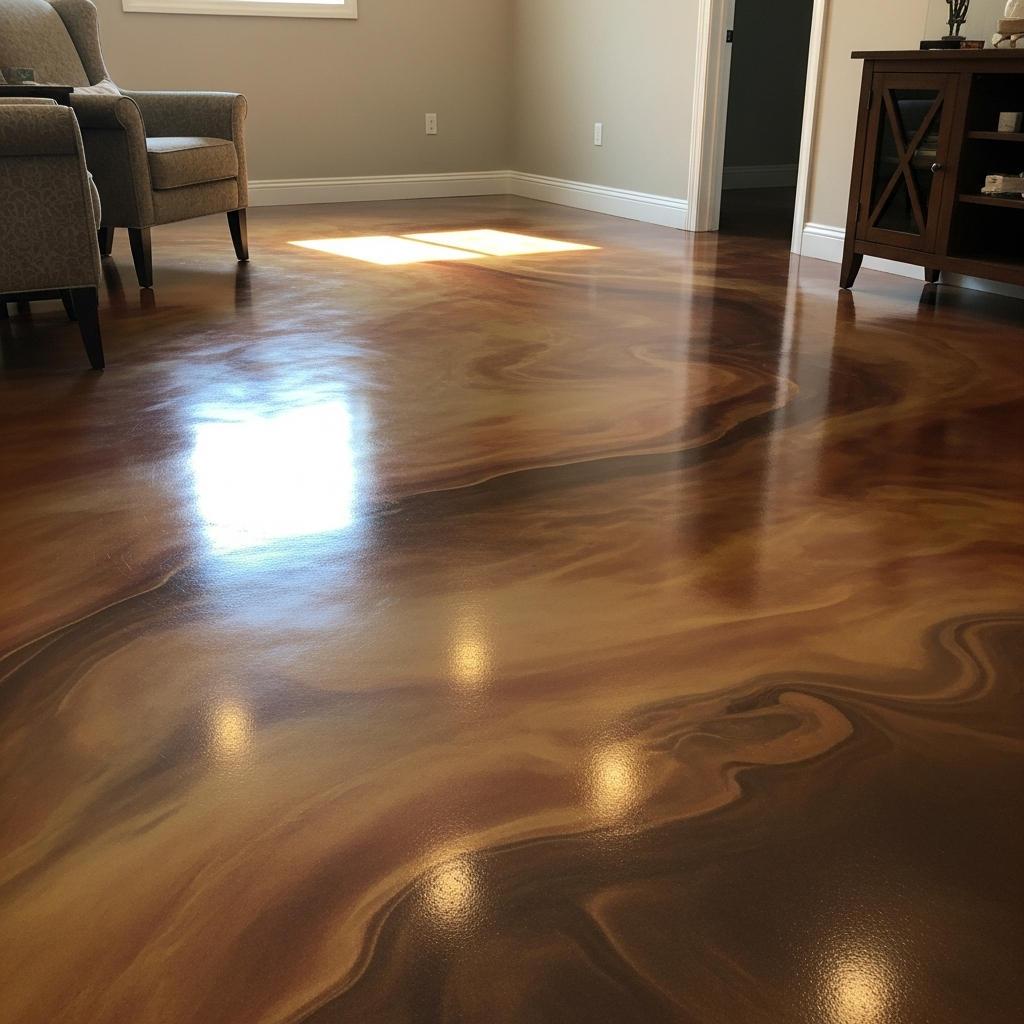
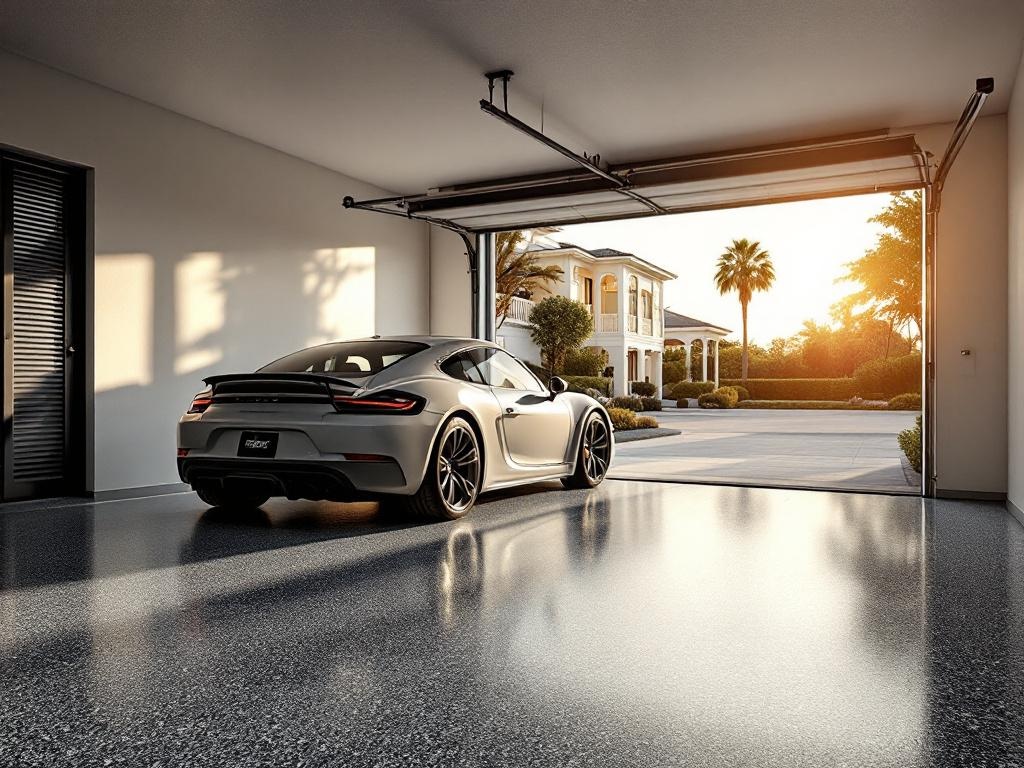
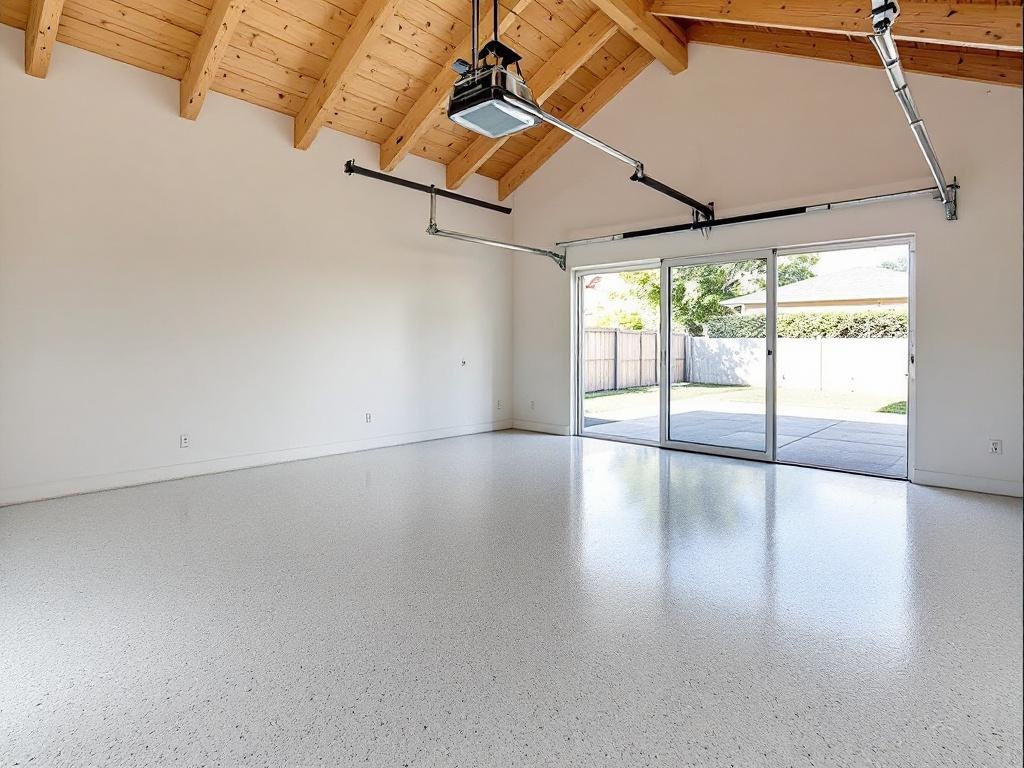
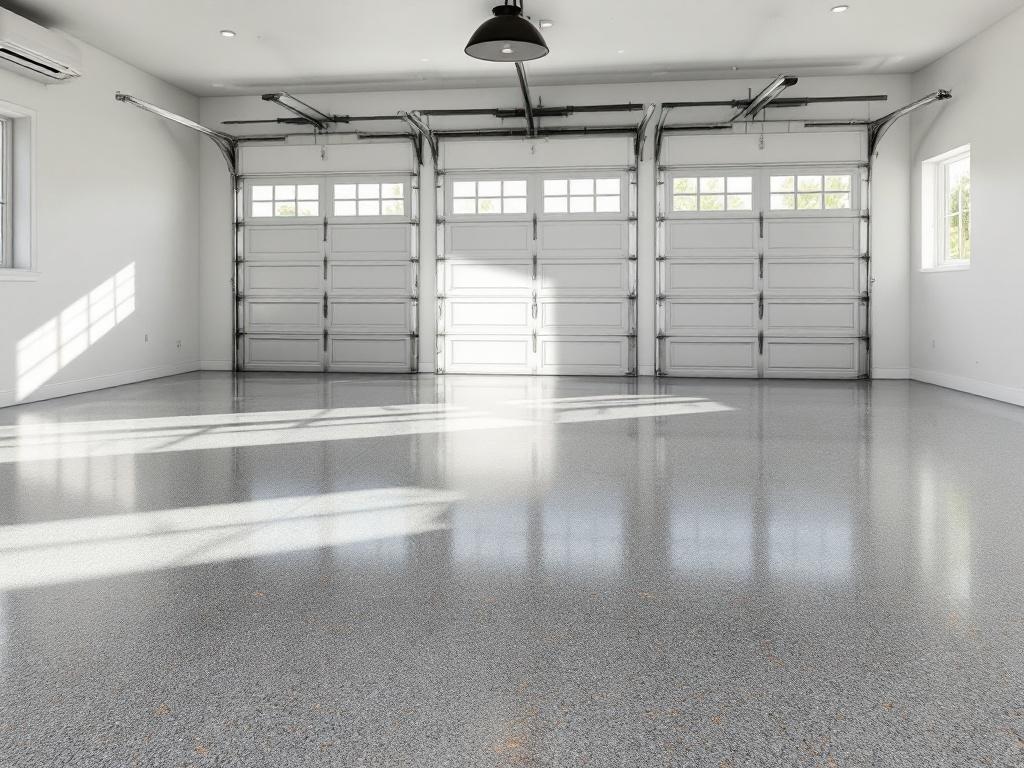
See what our work looks like in year ten.
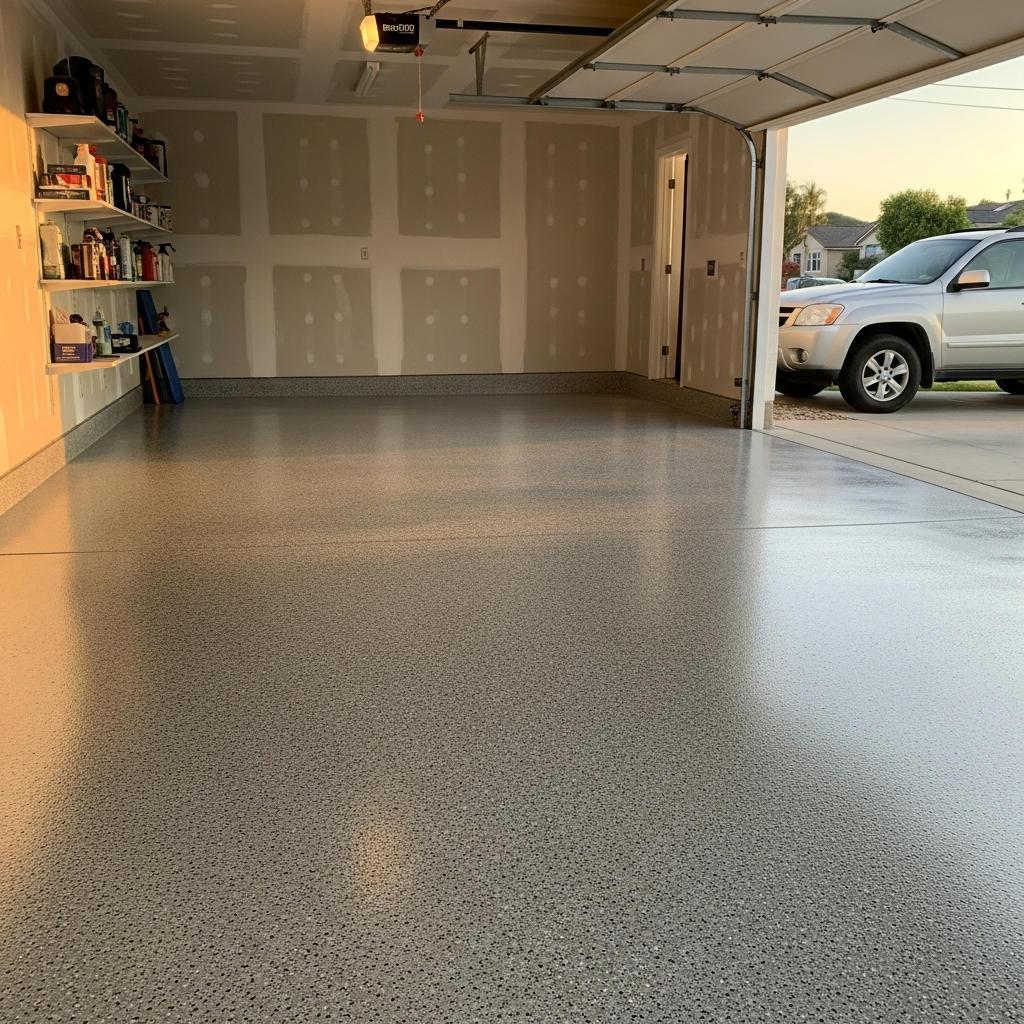
Before and after — real customers, real homes, real floors that still look this way.

Honest pricing, in plain numbers.
We don’t publish a single sticker price because no two garages are the same. But here’s what most Charleston customers actually pay — published openly, because we’d rather you know than guess.
What’s always included in our quote: diamond-grind prep, crack repair, primer, base coat, flake broadcast, topcoat, lifetime workmanship warranty, cleanup. Nothing gets added later.
Get my fixed quoteThe standard behind every Charleston floor
Diamond-ground prep
Every Charleston slab is mechanically diamond-ground, not acid-etched, so the coating actually bonds and stays down.
Most garages in a day
A standard garage is prepped, coated, and topcoated in one day. Back to parking without a week of downtime.
Bonded and insured
Fully bonded with liability coverage. Ask for the certificate before any crew starts.
The Lodestone Coat Standard
A written commitment on adhesion and finish. If a covered issue shows up, we come back and make it right.
Coverage from coast to inland.
More than just garage floors.
Common ones, plainly answered.
Is a garage floor coating worth it in Charleston?
The value case, what’s driving 2026 prices, and how to get the most for your money.
Read the guide →How much does a garage floor coating cost in Charleston?
In Charleston, a garage floor coating typically costs $5 to $10 per square foot installed. For a standard two-car garage of roughly 400 to 500 square feet, that works out to about $2,000 to $5,000 installed. The figure covers surface preparation, the coating system itself, and labor. What moves a quote inside that range is slab condition, how much grinding and crack repair the floor needs before anything is applied, the finish you choose, and access to the space.
How we specify a floor in Charleston
The Lowcountry is relentless on concrete. Coastal humidity keeps slabs damp, salt air attacks weak coatings, and many Charleston-area homes sit low against a high water table. Moisture from below is the first thing to solve here — without proper prep and a moisture-tolerant finish, even a good-looking coating blisters in the coastal air. From historic-district properties to newer raised builds, the common thread is humidity, so a slab read and moisture management come before anything decorative.
Every slab is tested before we quote a system. Moisture drives more coating failures than any other single factor, so we measure it rather than guess: a calcium chloride test to ASTM F1869 for moisture vapor emission, or in-slab relative humidity probes to ASTM F2170 where the slab is newer or below grade. If the readings come back high, the floor gets a moisture-mitigating primer before the build coats, not a thicker topcoat.
Preparation is mechanical, never acid etching. Diamond grinding opens the slab to an ICRI CSP-2 to CSP-3 surface profile, which is the texture a coating needs to key into concrete properly. Cracks and joints are chased out and filled before the first coat. Slab flatness and finish are assessed against ACI 302.1R guidance so we can tell you up front what the floor will and will not hide.
Systems are quoted by total mil build, not by coat count, because that is what determines how long a floor lasts. A flake system for a working garage is typically specified in the 20 to 30 mil range; a thin roll-on kit is often 8 to 12 mils, which is why it wears through at the tire tracks first. Polyaspartic topcoats cure fast and hold a wider application window than epoxy, they stay UV-stable rather than ambering in daylight, and their short pot life and recoat window are exactly why they are a crew-and-equipment job rather than a weekend project.
Get your garage floor quoted in 24 hours.
Free walkthrough. Fixed quote. The Coat Pro prep standard on every install.